Shader Toy Tutorial
Contents
Graphics cards can run programs written in the C-like language OpenGL Shading Language, or GLSL for short. These programs can be easily parallelized and run across the processors of the graphics card GPU.
Shaders take a bit of set-up to write. The ShaderToy website has standardized some of these and made it easier to experiment with writing shaders. The website is at:
Arcade includes additional code making it easier to run these ShaderToy shaders in an Arcade program. This tutorial helps you get started.
Slides
This tutorial is schedued to be presented at 2022 PyCon US. Here are the slides for that presentation:
Step 1: Open a window
This is simple program that just opens a basic Arcade window. We’ll add a shader in the next step.
1 2 3 4 5 6 7 8 9 10 11 12 13 14 15 16 | import arcade
# Derive an application window from Arcade's parent Window class
class MyGame(arcade.Window):
def __init__(self):
# Call the parent constructor
super().__init__(width=1920, height=1080)
def on_draw(self):
# Clear the screen
self.clear()
if __name__ == "__main__":
MyGame()
arcade.run()
|
Step 2: Load and display a shader
This program will load a GLSL program and display it.
1 2 3 4 5 6 7 8 9 10 11 12 13 14 15 16 17 18 19 20 21 22 | import arcade
from arcade.experimental import Shadertoy
# Derive an application window from Arcade's parent Window class
class MyGame(arcade.Window):
def __init__(self):
# Call the parent constructor
super().__init__(width=1920, height=1080)
# Load a file and create a shader from it
file_name = "circle_1.glsl"
self.shadertoy = Shadertoy(size=self.get_size(),
main_source=open(file_name).read())
def on_draw(self):
# Run the GLSL code
self.shadertoy.render()
if __name__ == "__main__":
MyGame()
arcade.run()
|
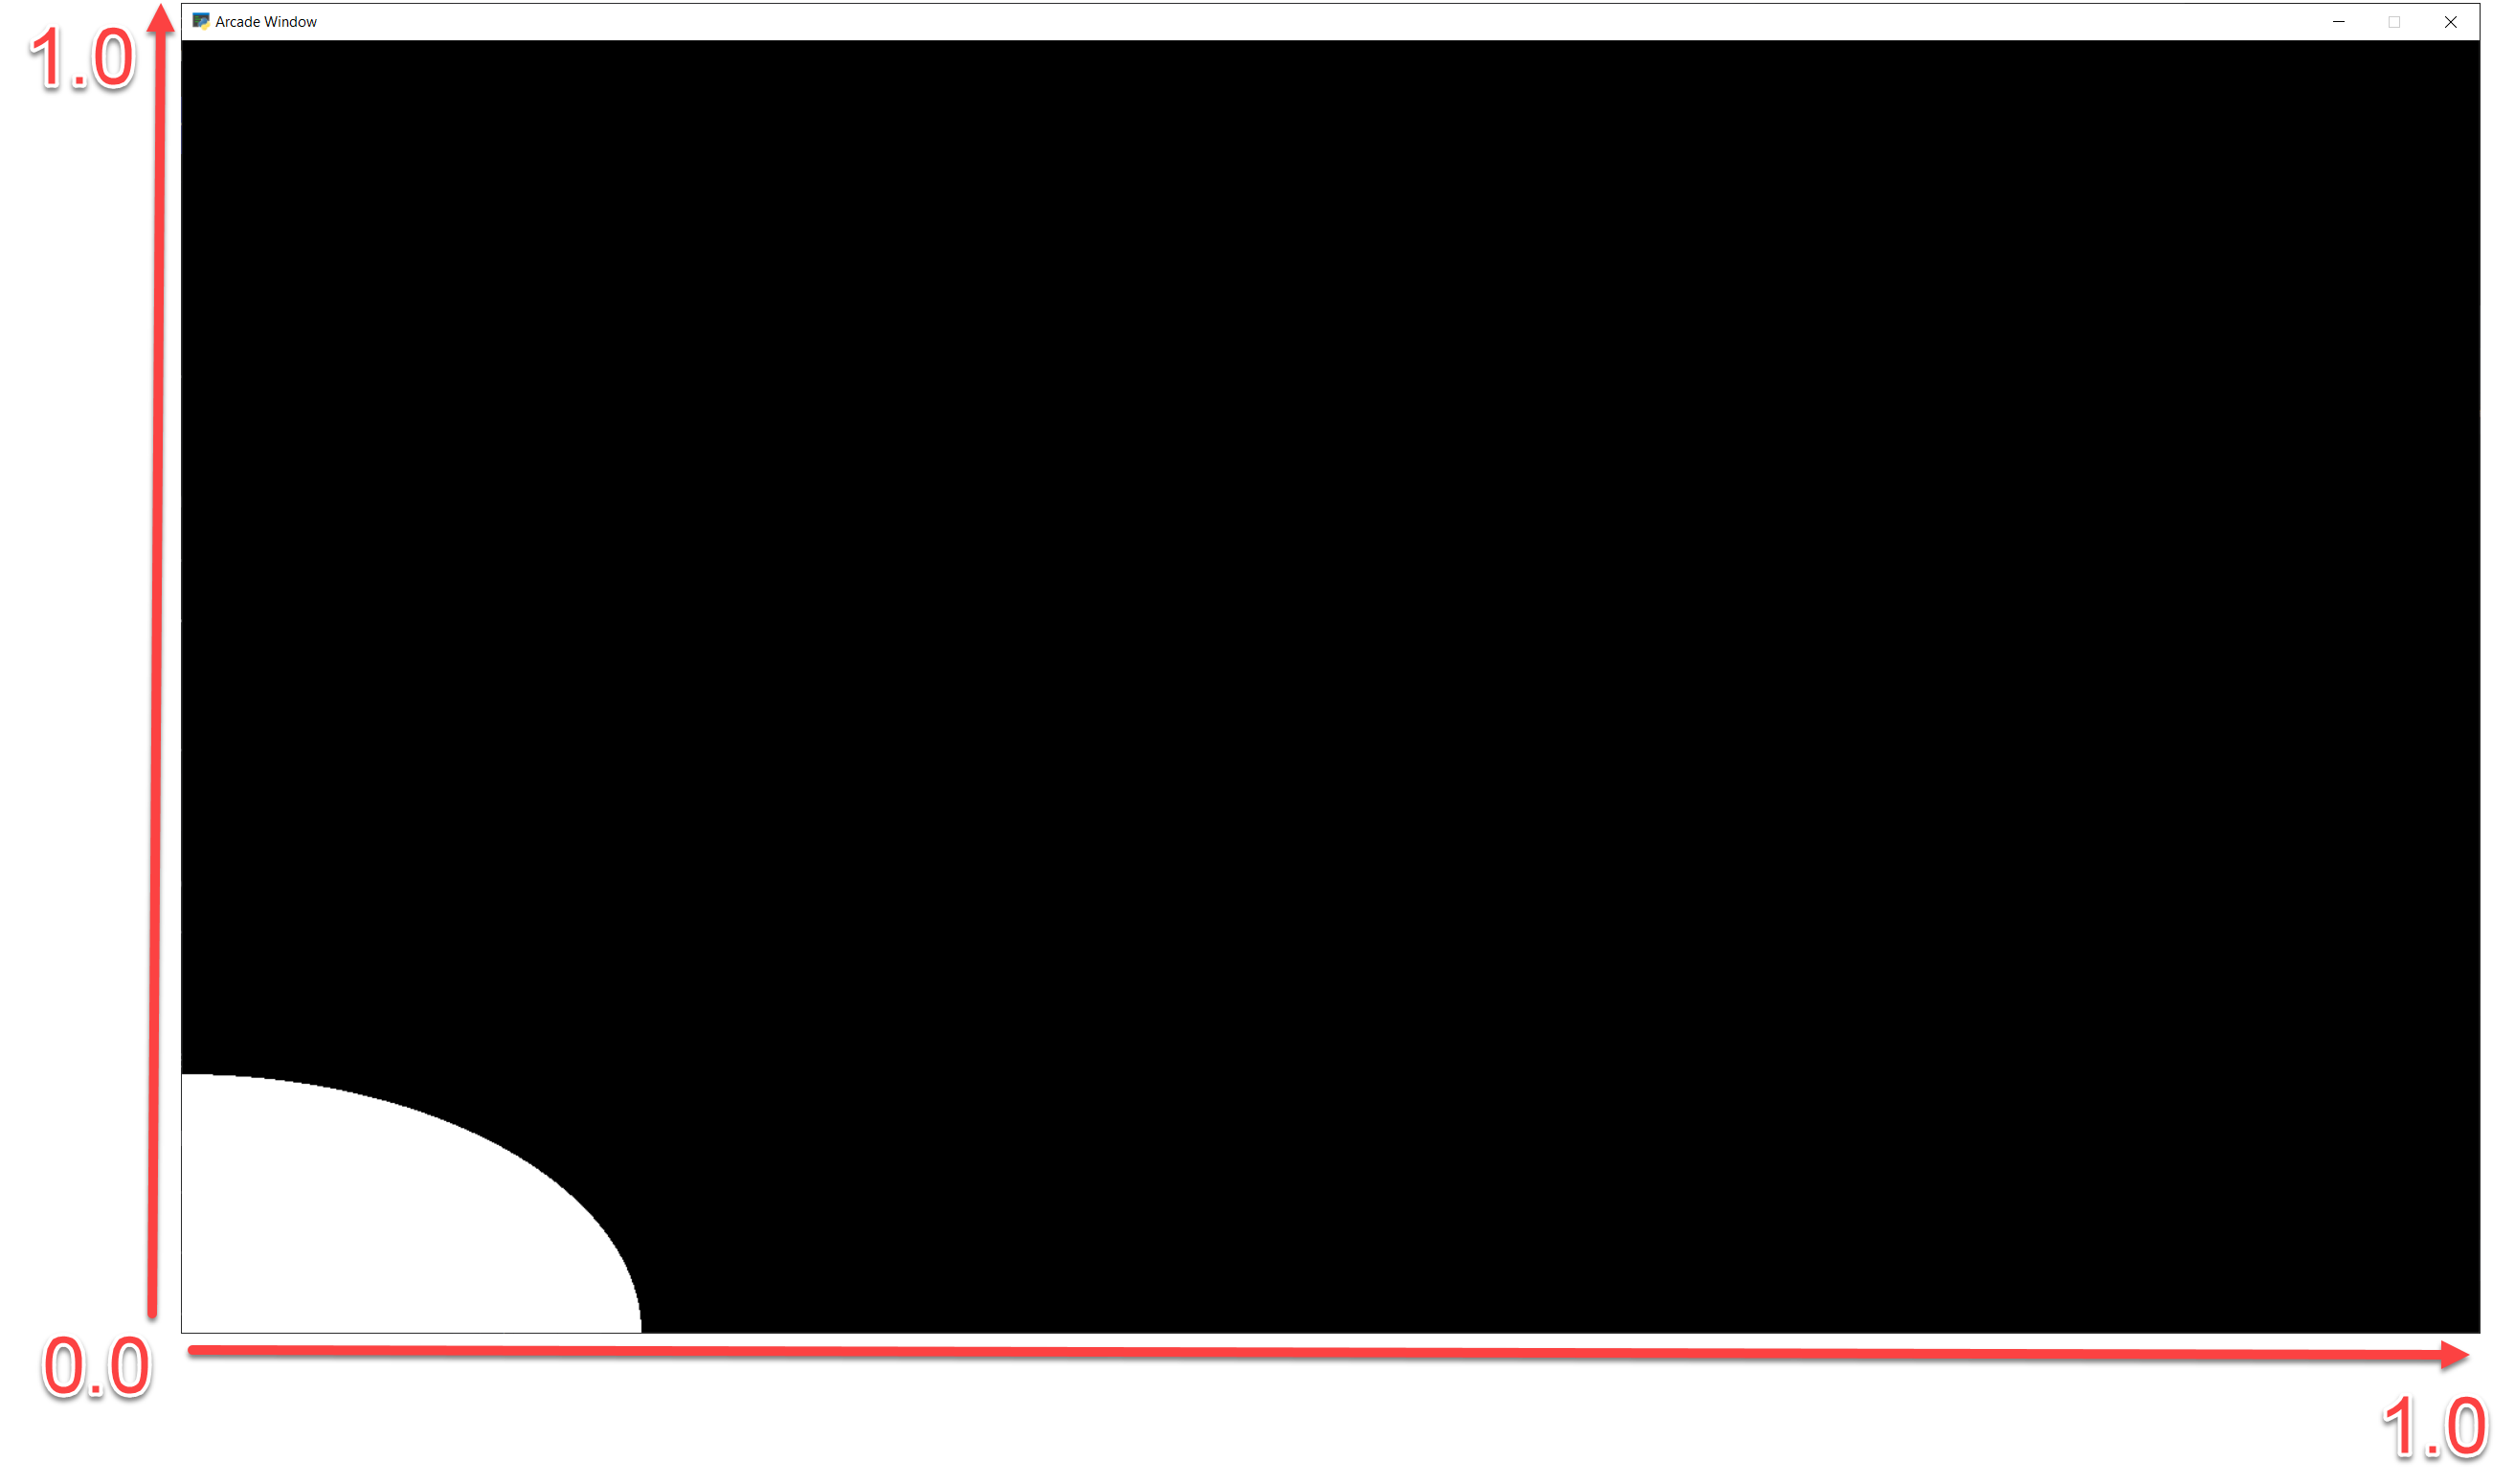
Next, let’s create a simple first GLSL program. Our program will:
Normalize the coordinates. Instead of 0 to 1024, we’ll go 0.0 to 1.0. This is standard practice, and allows us to work independently of resolution. Resolution is already stored for us in a standardized variable named
iResolution.Next, we’ll use a white color as default. Colors are four floating point RGBA values, ranging from 0.0 to 1.0. To start with, we’ll set just RGB and use 1.0 for alpha.
If we are greater that 0.2 for our coordinate (20% of screen size) we’ll use black instead.
Set our output color, standardized with the variable name
fracColor.
1 2 3 4 5 6 7 8 9 10 11 12 13 14 15 16 17 18 | void mainImage(out vec4 fragColor, in vec2 fragCoord) {
// Normalized pixel coordinates (from 0 to 1)
vec2 uv = fragCoord/iResolution.xy;
// How far is the current pixel from the origin (0, 0)
float distance = length(uv);
// Default our color to white
vec3 color = vec3(1.0, 1.0, 1.0);
// If we are more than 20% of the screen away from origin, use black.
if (distance > 0.2)
color = vec3(0.0, 0.0, 0.0);
// Output to the screen
fragColor = vec4(color, 1.0);
}
|
The output of the program looks like this:
Other default variables you can use:
uniform vec3 iResolution;
uniform float iTime;
uniform float iTimeDelta;
uniform float iFrame;
uniform float iChannelTime[4];
uniform vec4 iMouse;
uniform vec4 iDate;
uniform float iSampleRate;
uniform vec3 iChannelResolution[4];
uniform samplerXX iChanneli;
“Uniform” means the data is the same for each pixel the GLSL program runs on.
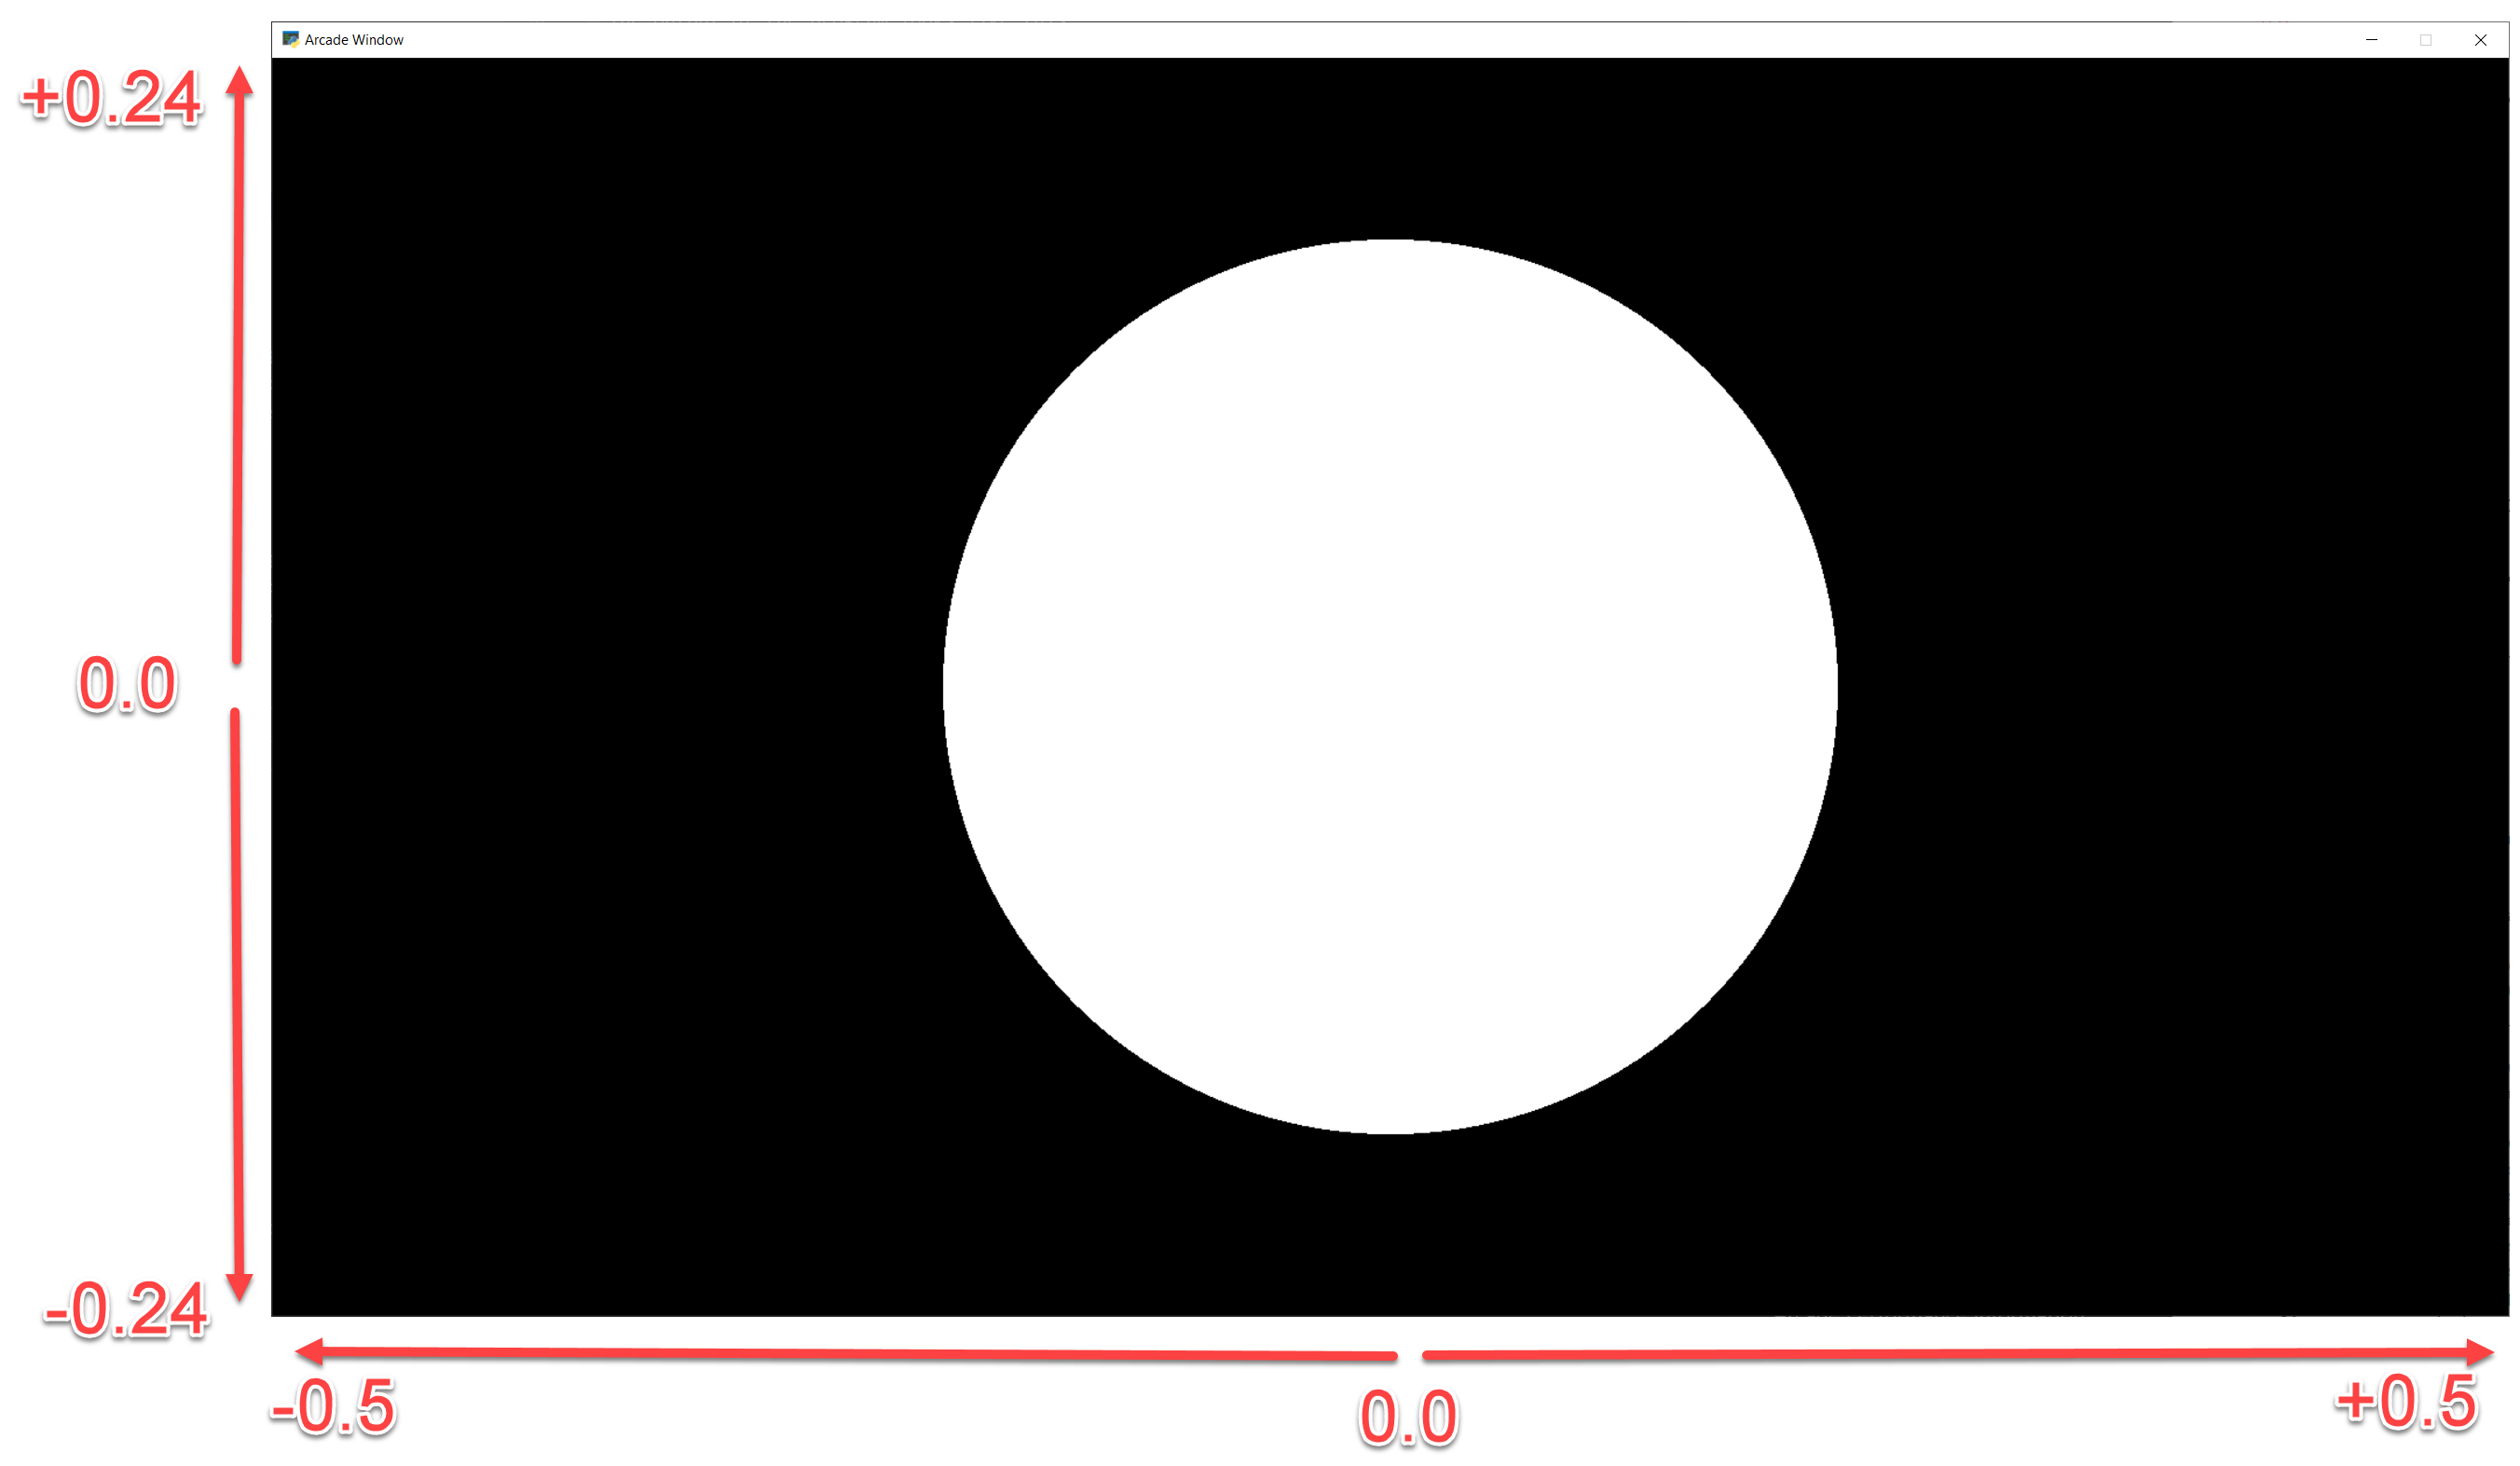
Step 3: Move origin to center of screen, adjust for aspect
Next up, we’d like to center our circle, and adjust for the aspect ratio. This will give us a (0, 0) in the middle of the screen and a perfect circle.
1 2 3 4 5 6 7 8 9 10 11 12 13 14 15 16 17 18 19 20 21 22 23 | void mainImage(out vec4 fragColor, in vec2 fragCoord) {
// Normalized pixel coordinates (from 0 to 1)
vec2 uv = fragCoord/iResolution.xy;
// Position of fragment relative to center of screen
vec2 rpos = uv - 0.5;
// Adjust y by aspect ratio
rpos.y /= iResolution.x/iResolution.y;
// How far is the current pixel from the origin (0, 0)
float distance = length(rpos);
// Default our color to white
vec3 color = vec3(1.0, 1.0, 1.0);
// If we are more than 20% of the screen away from origin, use black.
if (distance > 0.2)
color = vec3(0.0, 0.0, 0.0);
// Output to the screen
fragColor = vec4(color, 1.0);
}
|
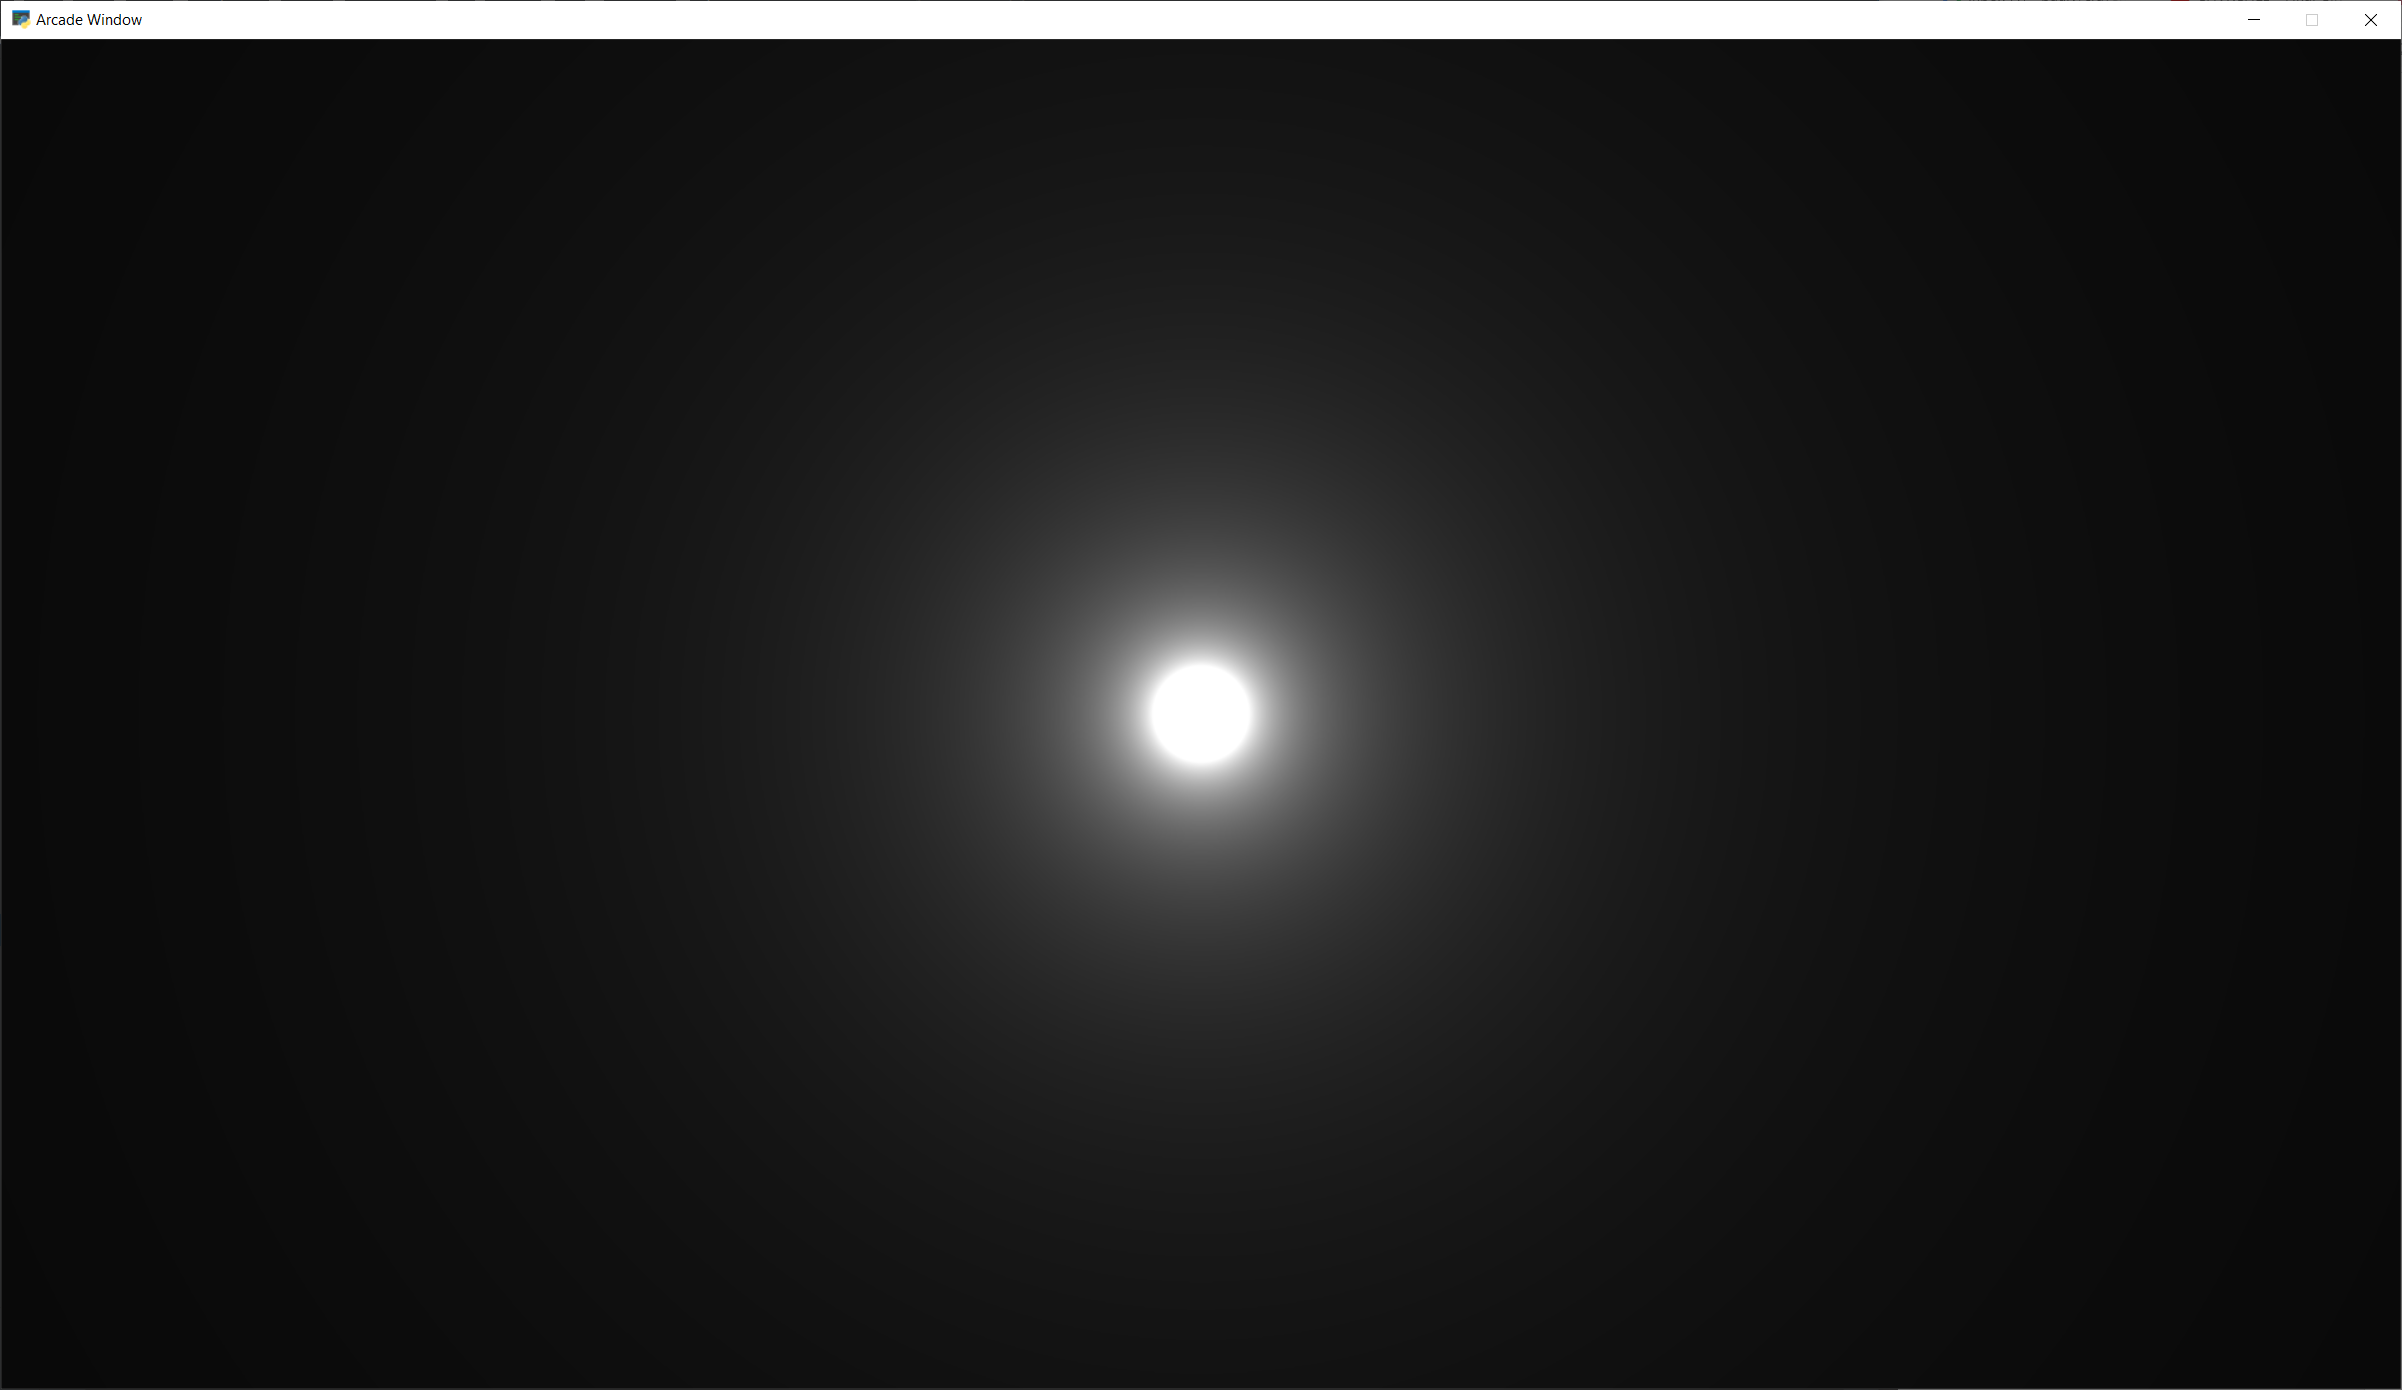
Step 4: Add a fade effect
We can take colors, like our white (1.0, 1.0, 1.0) and adjust their intensity by multiplying them times a float. Multiplying white times 0.5 will give us gray (0.5, 0.5, 0.5).
We can use this to create a fade effect around our circle. The inverse of the distance \(\frac{1}{d}\) gives us a good curve. However the numbers are too large to adjust our white color. We can solve this by scaling it down. Run this, and adjust the scale value to see how it changes.
1 2 3 4 5 6 7 8 9 10 11 12 13 14 15 16 17 18 19 20 21 22 | void mainImage(out vec4 fragColor, in vec2 fragCoord) {
// Normalized pixel coordinates (from 0 to 1)
vec2 uv = fragCoord/iResolution.xy;
// Position of fragment relative to center of screen
vec2 rpos = uv - 0.5;
// Adjust y by aspect ratio
rpos.y /= iResolution.x/iResolution.y;
// How far is the current pixel from the origin (0, 0)
float distance = length(rpos);
// Use an inverse 1/distance to set the fade
float scale = 0.02;
float strength = 1.0 / distance * scale;
// Fade our white color
vec3 color = strength * vec3(1.0, 1.0, 1.0);
// Output to the screen
fragColor = vec4(color, 1.0);
}
|
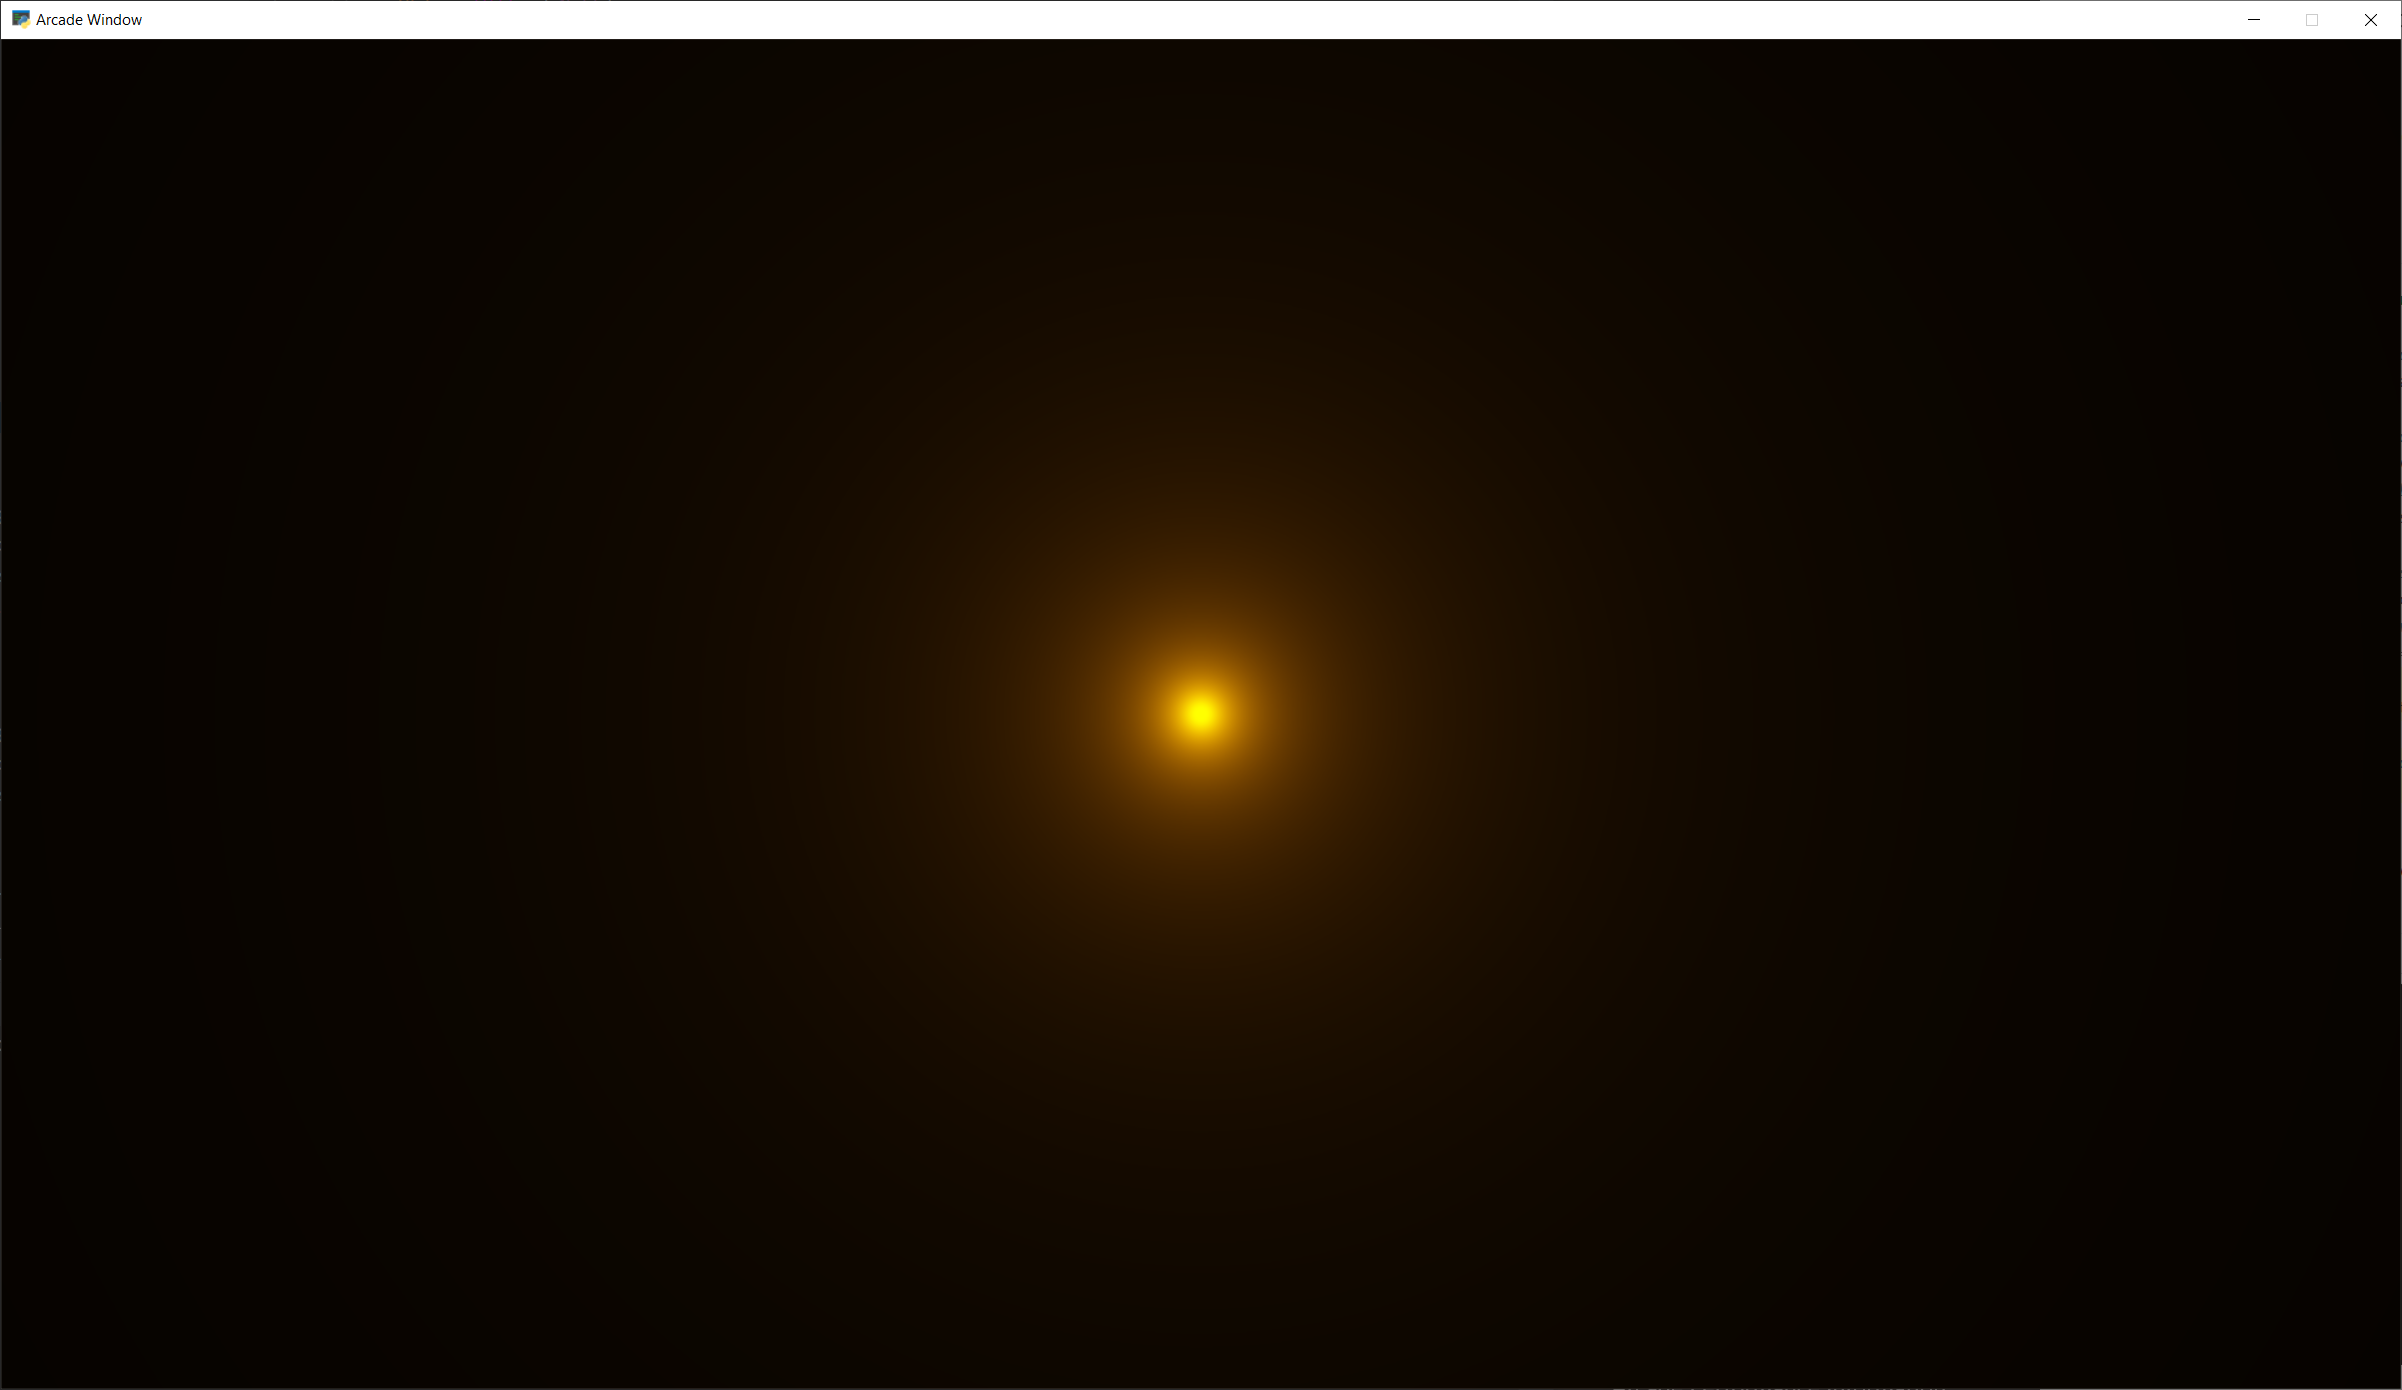
Step 5: Adjust how fast we fade
We can use an exponent to adjust how steep or shallow that curve is. If we use 1.0 it will be the same, 0.5 will cause it to fade out slower, 1.5 will fade faster.
We can also change our color to orange.
1 2 3 4 5 6 7 8 9 10 11 12 13 14 15 16 17 18 19 20 21 22 23 | void mainImage(out vec4 fragColor, in vec2 fragCoord) {
// Normalized pixel coordinates (from 0 to 1)
vec2 uv = fragCoord/iResolution.xy;
// Position of fragment relative to center of screen
vec2 rpos = uv - 0.5;
// Adjust y by aspect ratio
rpos.y /= iResolution.x/iResolution.y;
// How far is the current pixel from the origin (0, 0)
float distance = length(rpos);
// Use an inverse 1/distance to set the fade
float scale = 0.02;
float fade = 1.5;
float strength = pow(1.0 / distance * scale, fade);
// Fade our orange color
vec3 color = strength * vec3(1.0, 0.5, 0.0);
// Output to the screen
fragColor = vec4(color, 1.0);
}
|

Step 6: Tone mapping
Once we add color, the glow looks a bit off. We can do “tone mapping” with a bit of math if you like the look better.
1 2 3 4 5 6 7 8 9 10 11 12 13 14 15 16 17 18 19 20 21 22 23 24 25 26 | void mainImage(out vec4 fragColor, in vec2 fragCoord) {
// Normalized pixel coordinates (from 0 to 1)
vec2 uv = fragCoord/iResolution.xy;
// Position of fragment relative to center of screen
vec2 rpos = uv - 0.5;
// Adjust y by aspect ratio
rpos.y /= iResolution.x/iResolution.y;
// How far is the current pixel from the origin (0, 0)
float distance = length(rpos);
// Use an inverse 1/distance to set the fade
float scale = 0.02;
float fade = 1.1;
float strength = pow(1.0 / distance * scale, fade);
// Fade our orange color
vec3 color = strength * vec3(1.0, 0.5, 0);
// Tone mapping
color = 1.0 - exp( -color );
// Output to the screen
fragColor = vec4(color, 1.0);
}
|
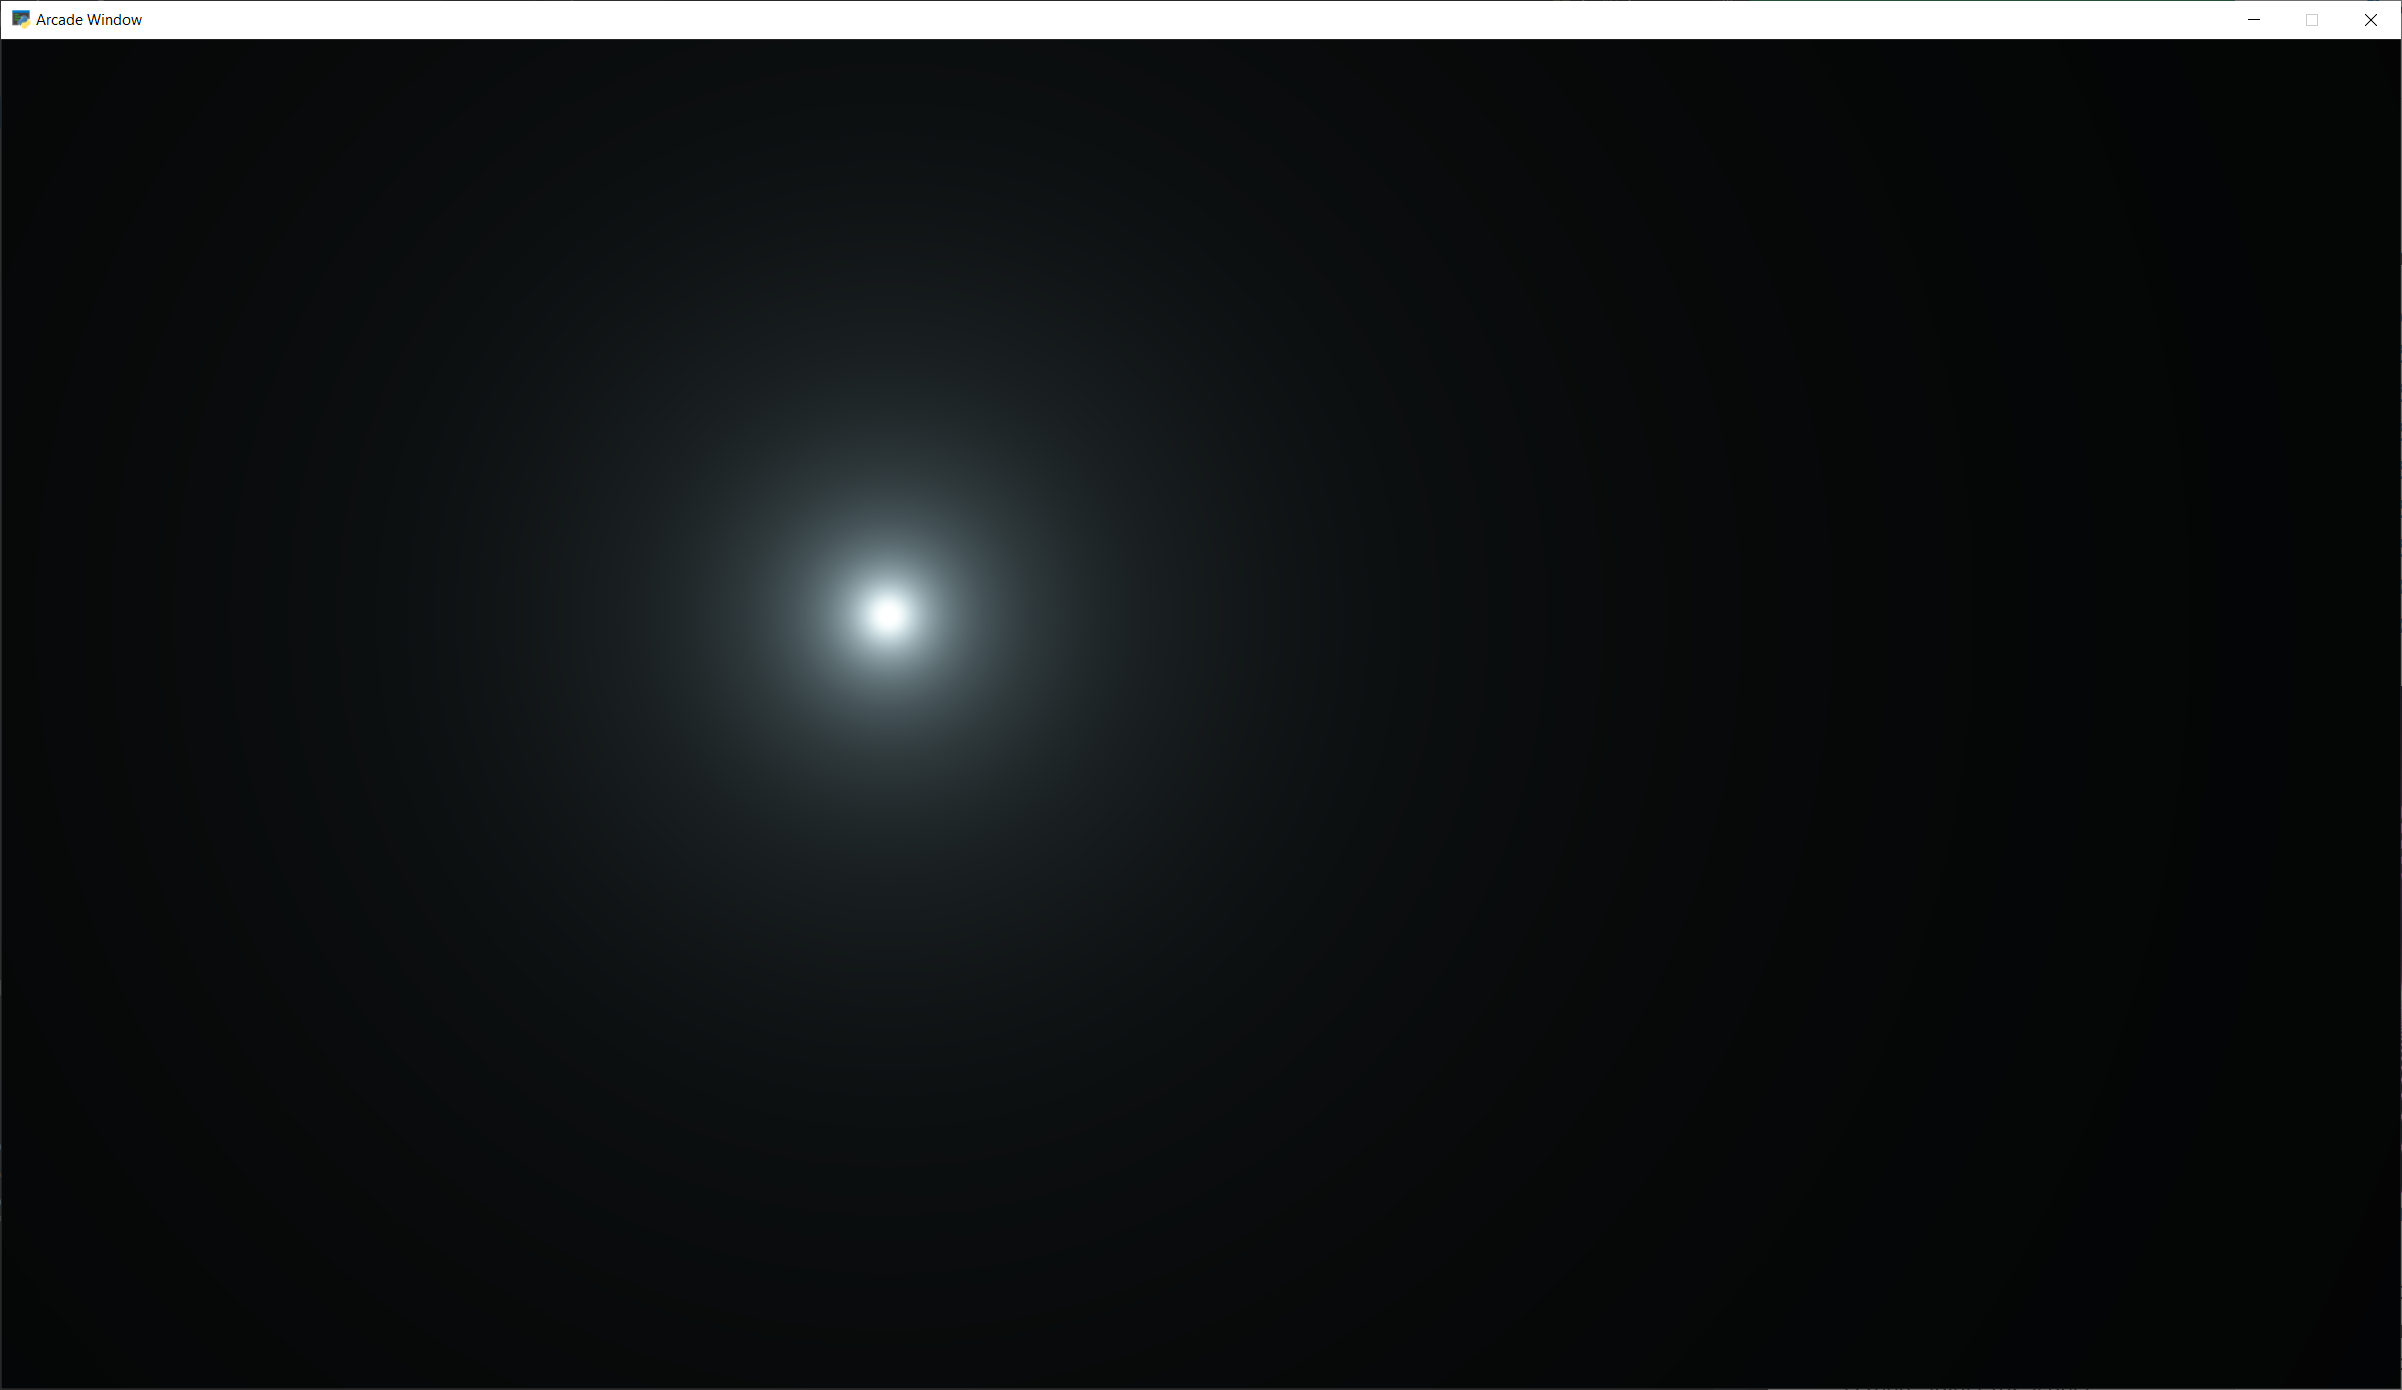
Step 7: Positioning the glow
What if we want to position the glow at a certain spot? Send an x, y to center on? What if we want to control the color of the glow too?
We can send data to our shader using uniforms. Those can easily be set in our Python program:
1 2 3 4 5 6 7 8 9 10 11 12 13 14 15 16 17 18 19 20 21 22 23 24 25 | import arcade
from arcade.experimental import Shadertoy
# Derive an application window from Arcade's parent Window class
class MyGame(arcade.Window):
def __init__(self):
# Call the parent constructor
super().__init__(width=1920, height=1080)
# Load a file and create a shader from it
file_name = "circle_6.glsl"
self.shadertoy = Shadertoy(size=self.get_size(),
main_source=open(file_name).read())
def on_draw(self):
# Set uniform data to send to the GLSL shader
self.shadertoy.program['pos'] = self.mouse["x"], self.mouse["y"]
self.shadertoy.program['color'] = arcade.get_three_float_color(arcade.color.LIGHT_BLUE)
# Run the GLSL code
self.shadertoy.render()
if __name__ == "__main__":
MyGame()
arcade.run()
|
Then we can use those uniforms in our shader:
1 2 3 4 5 6 7 8 9 10 11 12 13 14 15 16 17 18 19 20 21 22 23 24 25 26 27 28 29 30 | uniform vec2 pos;
uniform vec3 color;
void mainImage(out vec4 fragColor, in vec2 fragCoord) {
// Normalized pixel coordinates (from 0 to 1)
vec2 uv = fragCoord/iResolution.xy;
vec2 npos = pos/iResolution.xy;
// Position of fragment relative to specified position
vec2 rpos = npos - uv;
// Adjust y by aspect ratio
rpos.y /= iResolution.x/iResolution.y;
// How far is the current pixel from the origin (0, 0)
float distance = length(rpos);
// Use an inverse 1/distance to set the fade
float scale = 0.02;
float fade = 1.1;
float strength = pow(1.0 / distance * scale, fade);
// Fade our orange color
vec3 color = strength * color;
// Tone mapping
color = 1.0 - exp( -color );
// Output to the screen
fragColor = vec4(color, 1.0);
}
|
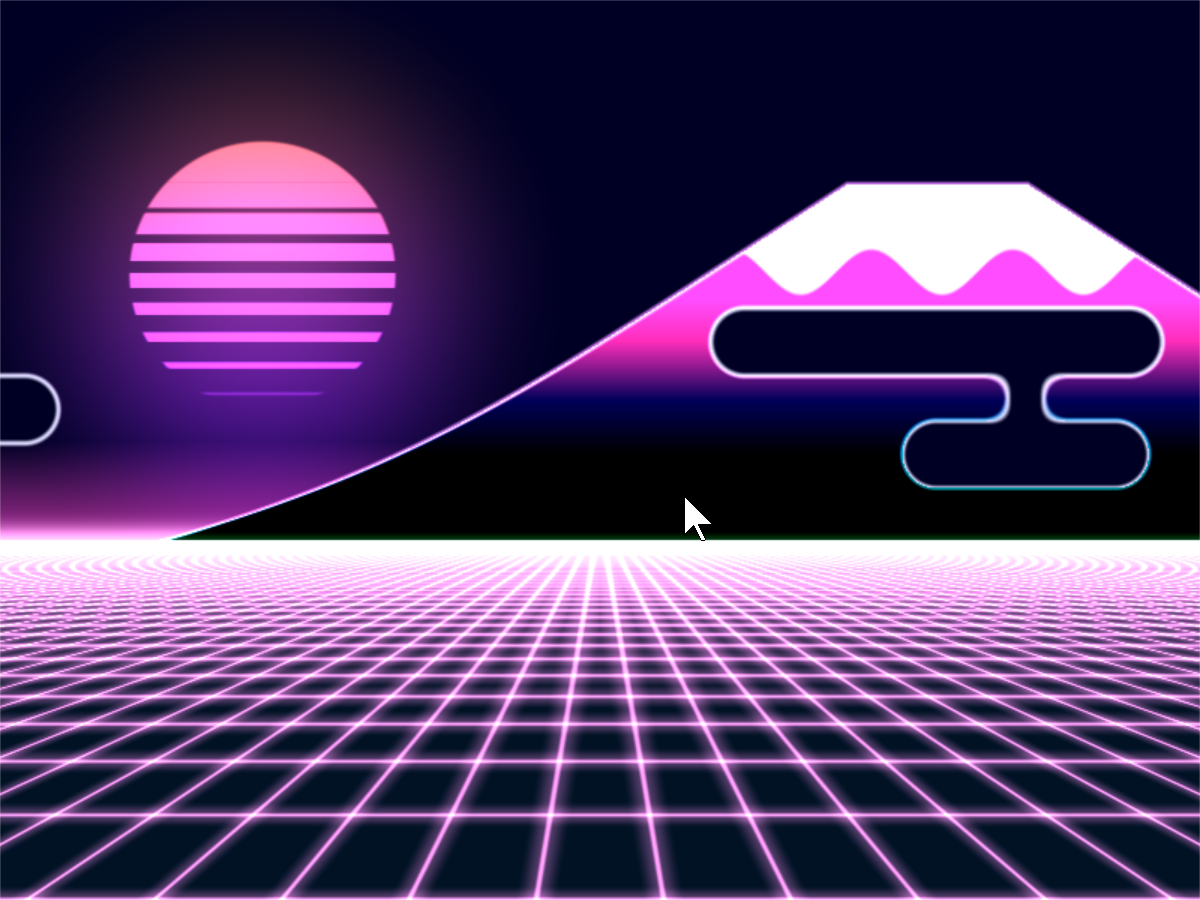
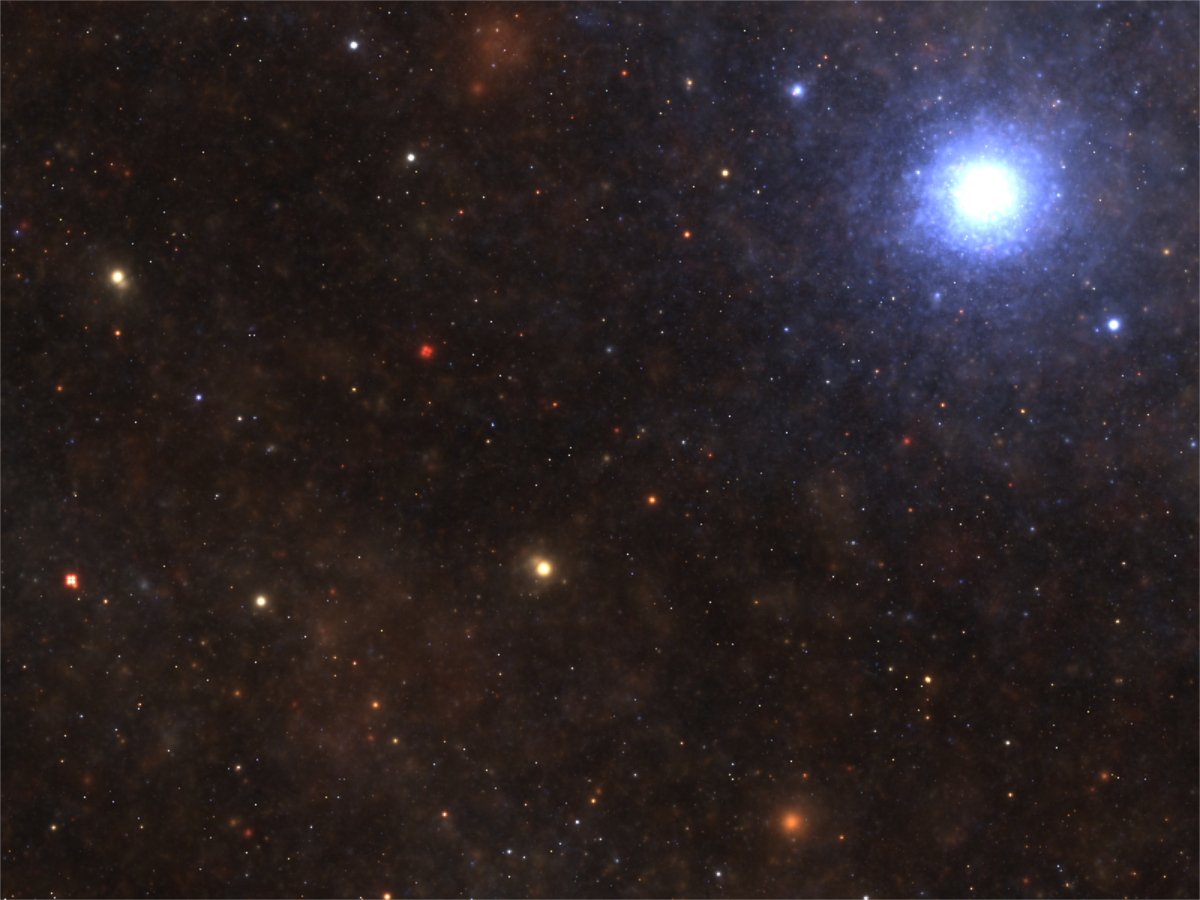
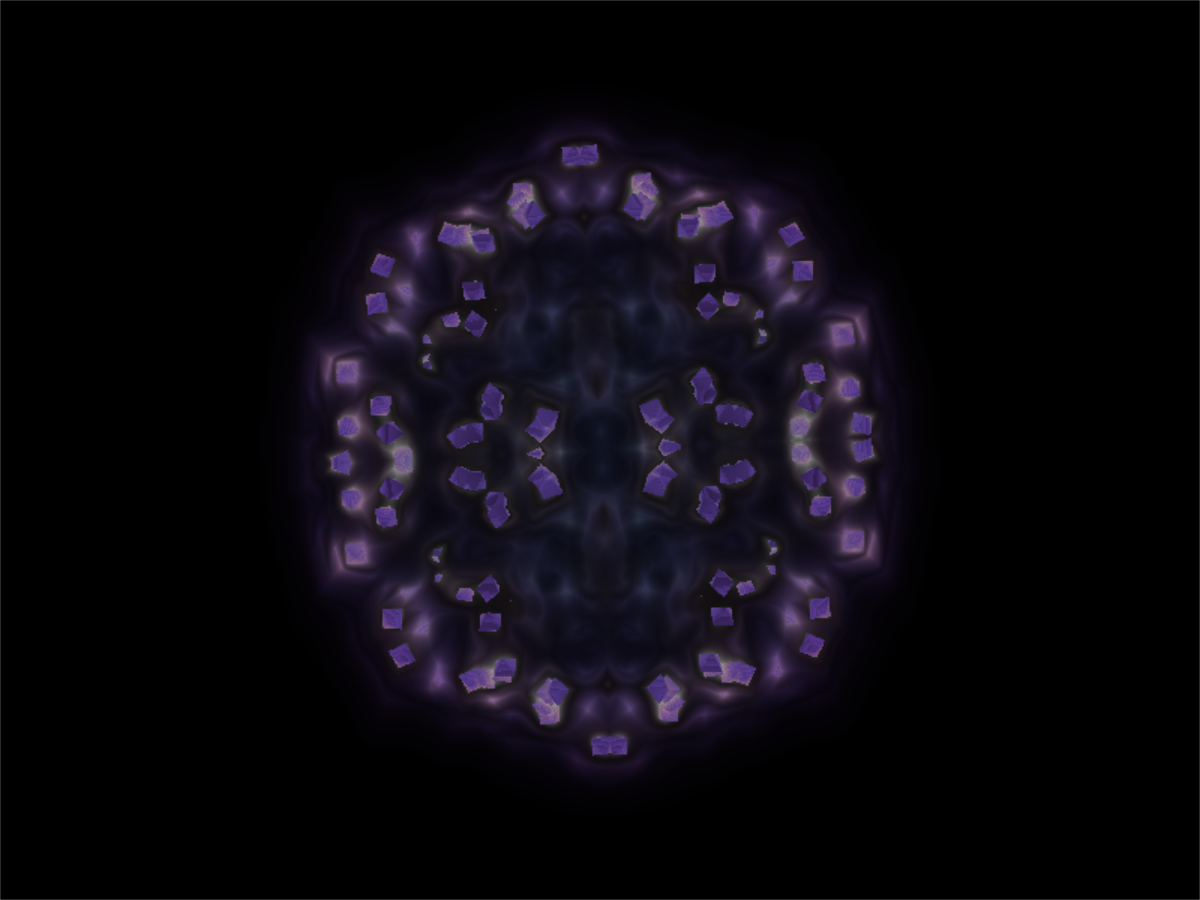
Other examples
Here’s another Python program that loads a GLSL file and displays it:
1 2 3 4 5 6 7 8 9 10 11 12 13 14 15 16 17 18 19 20 21 22 23 24 25 26 27 28 29 30 31 32 33 34 35 36 37 | import arcade
from arcade.experimental import Shadertoy
class MyGame(arcade.Window):
def __init__(self):
# Call the parent constructor
super().__init__(width=1920, height=1080, title="Shader Demo", resizable=True)
# Keep track of total run-time
self.time = 0.0
# File name of GLSL code
# file_name = "fractal_pyramid.glsl"
# file_name = "cyber_fuji_2020.glsl"
file_name = "earth_planet_sky.glsl"
# file_name = "flame.glsl"
# file_name = "star_nest.glsl"
# Create a shader from it
self.shadertoy = Shadertoy(size=self.get_size(),
main_source=open(file_name).read())
def on_draw(self):
self.clear()
mouse_pos = self.mouse["x"], self.mouse["y"]
self.shadertoy.render(time=self.time, mouse_position=mouse_pos)
def on_update(self, dt):
# Keep track of elapsed time
self.time += dt
if __name__ == "__main__":
MyGame()
arcade.run()
|
You can use this demo with any of the sample code below. Click on the caption below the example shaders here to see the source code for the shader.
Some other sample shaders:

Additional learning
On this site:
Learn how to ray-cast shadows in the Ray-casting Shadows.
Make your screen look like an 80s monitor in CRT Filter.
Read more about using OpenGL in Arcade with OpenGL Notes.
Learn to do a compute shader in Compute Shader Tutorial.
On other sites:
Here is a decent learn-by-example tutorial for making shaders: https://www.shadertoy.com/view/Md23DV
Here’s a video tutorial that steps through how to do an explosion: https://www.youtube.com/watch?v=xDxAnguEOn8