Using Views for Start/End Screens

Views allow you to easily switch “views” for what you are showing on the window. You can use this to support adding screens such as:
Start screens
Instruction screens
Game over screens
Pause screens
The View class is a lot like the Window class that you are already used
to. The View class has methods for on_update and on_draw just like
Window. We can change the current view to quickly change the code that is
managing what is drawn on the window and handling user input.
If you know ahead of time you want to use views, you can build your code around the View Management. However, typically a programmer wants to add these items to a game that already exists.
This tutorial steps you through how to do just that.
Change Main Program to Use a View
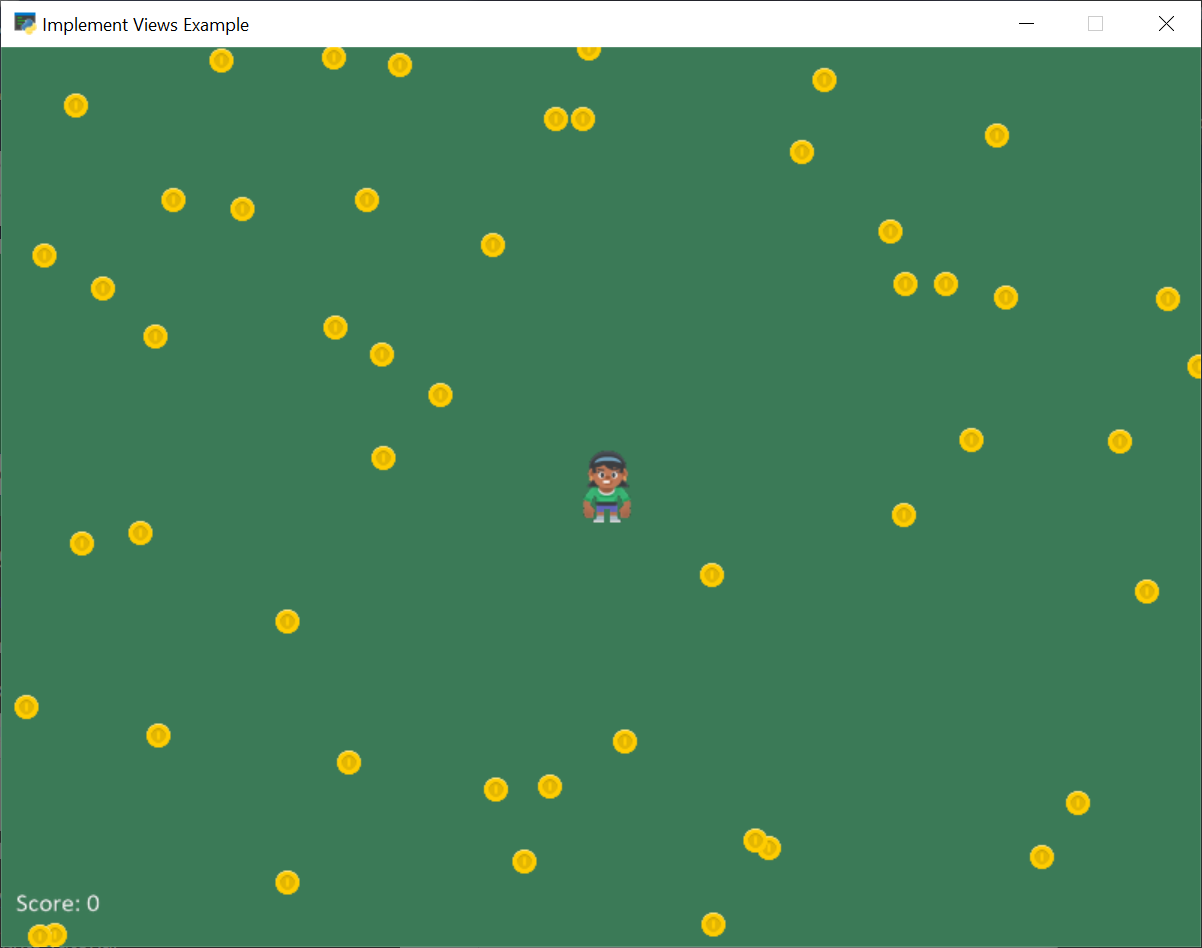
First, we’ll start with a simple collect coins example: 01_views.py Full Listing
Then we’ll move our game into a game view. Take the code where we define our window class:
class MyGame(arcade.Window):
Change it to derive from arcade.View instead of arcade.Window.
I also suggest using “View” as part of the name:
class GameView(arcade.View):
This will require a couple other updates. The View class does not control
the size of the window, so we’ll need to take that out of the call to the
parent class. Change:
super().__init__(SCREEN_WIDTH, SCREEN_HEIGHT, SCREEN_TITLE)
to:
super().__init__()
The Window class still controls if the mouse is visible or not, so to hide
the mouse, we’ll need to use the window attribute that is part of the View
class. Change:
self.set_mouse_cursor_visible(False)
to:
self.window.set_mouse_cursor_visible(False)
Now in the main function, instead of just creating a window, we’ll create
a window, a view, and then show that view.
1def main():
2    """ Main function """
3
4    window = arcade.Window(SCREEN_WIDTH, SCREEN_HEIGHT, SCREEN_TITLE)
5    start_view = GameView()
6    window.show_view(start_view)
7    start_view.setup()
8    arcade.run()
At this point, run your game and make sure that it still operates properly. It should run just like it did before, but now we are set up to add additional views.
02_views.py Full Listing ← Full listing of where we are right now
02_views.py Diff ← What we changed to get here
Add Instruction Screen
Now we are ready to add in our instruction screen as a view. Create a class for it:
class InstructionView(arcade.View):
Then we need to define the on_show_view() method that will be run once when we
switch to this view. In this case, we don’t need to do much, just set the
background color. If the game is one that scrolls, we’ll also need to reset
the viewport so that (0, 0) is back to the lower-left coordinate.
    def on_show_view(self):
        """ This is run once when we switch to this view """
        self.window.background_color = arcade.csscolor.DARK_SLATE_BLUE

        # Reset the viewport, necessary if we have a scrolling game and we need
        # to reset the viewport back to the start so we can see what we draw.
        self.window.default_camera.use()
The on_draw method works just like the window class’s method, but it will
only be called when this view is active.
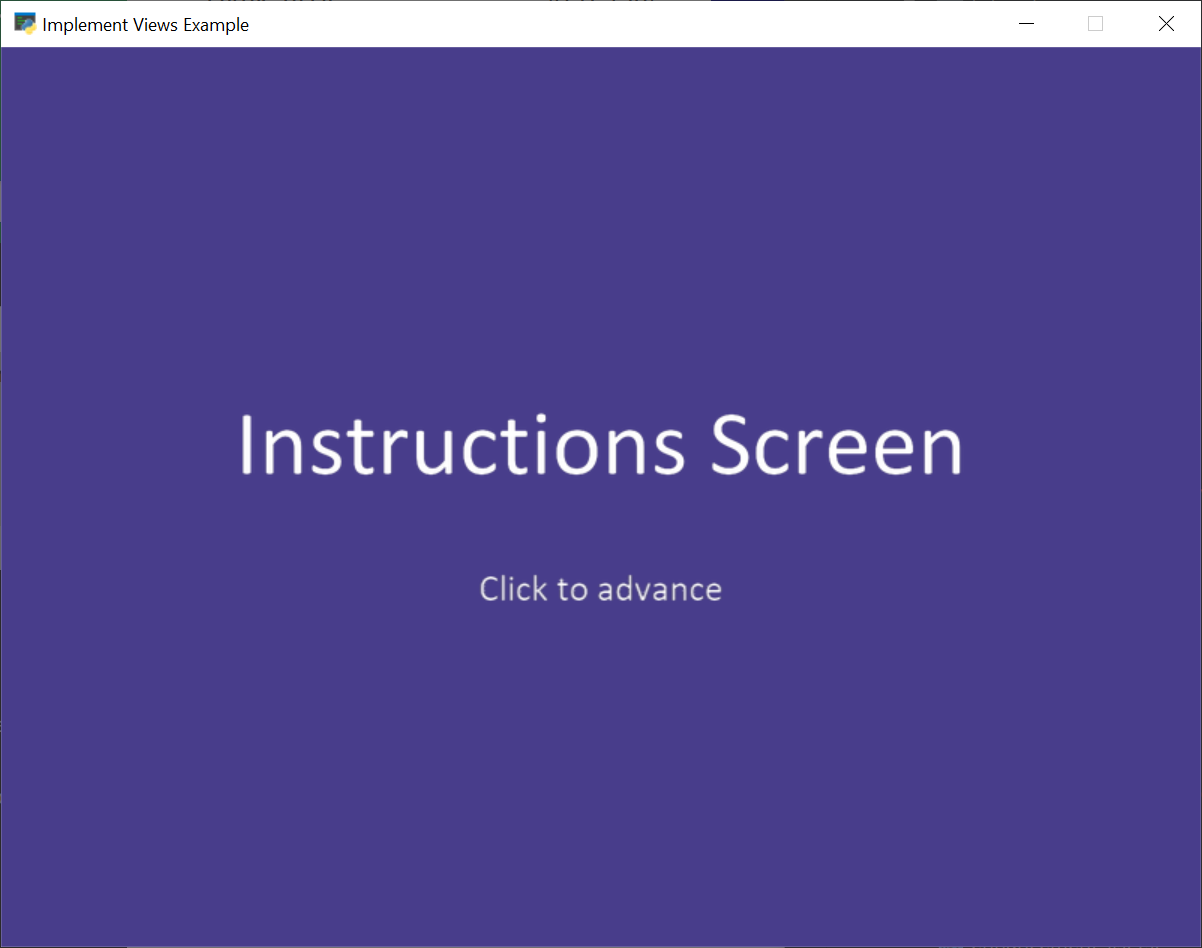
In this case, we’ll just draw some text for the instruction screen. Another alternative is to make a graphic in a paint program, and show that image. We’ll do that below where we show the Game Over screen.
    def on_draw(self):
        """ Draw this view """
        self.clear()
        arcade.draw_text("Instructions Screen", self.window.width / 2, self.window.height / 2,
                         arcade.color.WHITE, font_size=50, anchor_x="center")
        arcade.draw_text("Click to advance", self.window.width / 2, self.window.height / 2-75,
                         arcade.color.WHITE, font_size=20, anchor_x="center")
Then we’ll put in a method to respond to a mouse click. Here we’ll create our
GameView and call the setup method.
    def on_mouse_press(self, _x, _y, _button, _modifiers):
        """ If the user presses the mouse button, start the game. """
        game_view = GameView()
        game_view.setup()
        self.window.show_view(game_view)
Now we need to go back to the main function. Instead of creating a
GameView it needs to now create an InstructionView.
1def main():
2    """ Main function """
3
4    window = arcade.Window(SCREEN_WIDTH, SCREEN_HEIGHT, SCREEN_TITLE)
5    start_view = InstructionView()
6    window.show_view(start_view)
7    arcade.run()
03_views.py Full Listing ← Full listing of where we are right now
03_views.py Diff ← What we changed to get here
Game Over Screen
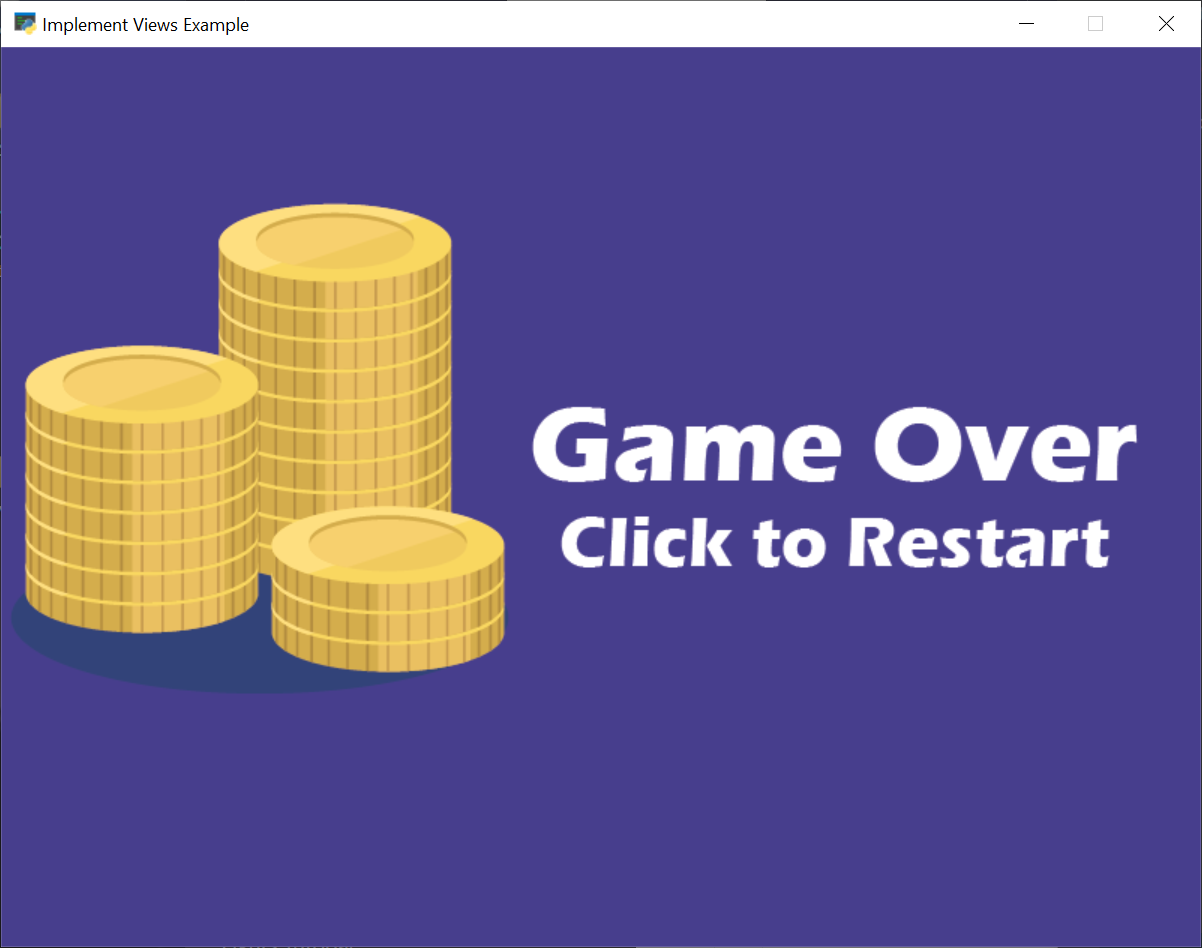
Another way of doing instruction, pause, and game over screens is with a graphic.
In this example, we’ve created a separate image with the same size as our
window (800x600) and saved it as game_over.png. You can use the Windows “Paint”
app or get an app for your Mac to make images in order to do this yourself.
The new GameOverView view that we are adding loads in the game over screen
image as a texture in its __init__. The on_draw method draws that texture
to the screen. By using an image, we can fancy up the game over screen using an
image editor as much as we want, while keeping the code simple.
When the user clicks the mouse button, we just start the game over.
 1class GameOverView(arcade.View):
 2    """ View to show when game is over """
 3
 4    def __init__(self):
 5        """ This is run once when we switch to this view """
 6        super().__init__()
 7        self.texture = arcade.load_texture("game_over.png")
 8
 9        # Reset the viewport, necessary if we have a scrolling game and we need
10        # to reset the viewport back to the start so we can see what we draw.
11        self.window.default_camera.use()
12
13    def on_draw(self):
14        """ Draw this view """
15        self.clear()
16        arcade.draw_texture_rect(
17            self.texture,
18            rect=arcade.LBWH(0, 0, SCREEN_WIDTH, SCREEN_HEIGHT),
19        )
20
21    def on_mouse_press(self, _x, _y, _button, _modifiers):
22        """ If the user presses the mouse button, re-start the game. """
23        game_view = GameView()
24        game_view.setup()
25        self.window.show_view(game_view)
The last thing we need, is to trigger the “Game Over” view. In our GameView.on_update
method, we can check the list length. As soon as it hits zero, we’ll change
our view.
 1    def on_update(self, delta_time):
 2        """ Movement and game logic """
 3
 4        # Call update on all sprites (The sprites don't do much in this
 5        # example though.)
 6        self.coin_list.update()
 7
 8        # Generate a list of all sprites that collided with the player.
 9        coins_hit_list = arcade.check_for_collision_with_list(self.player_sprite, self.coin_list)
10
11        # Loop through each colliding sprite, remove it, and add to the score.
12        for coin in coins_hit_list:
13            coin.remove_from_sprite_lists()
14            self.score += 1
15
16        # Check length of coin list. If it is zero, flip to the
17        # game over view.
18        if len(self.coin_list) == 0:
19            view = GameOverView()
20            self.window.show_view(view)
04_views.py Full Listing ← Full listing of where we are right now
04_views.py Diff ← What we changed to get here