Step 2 - Textures and Sprites
Our next step in this tutorial is to draw something on the Screen.
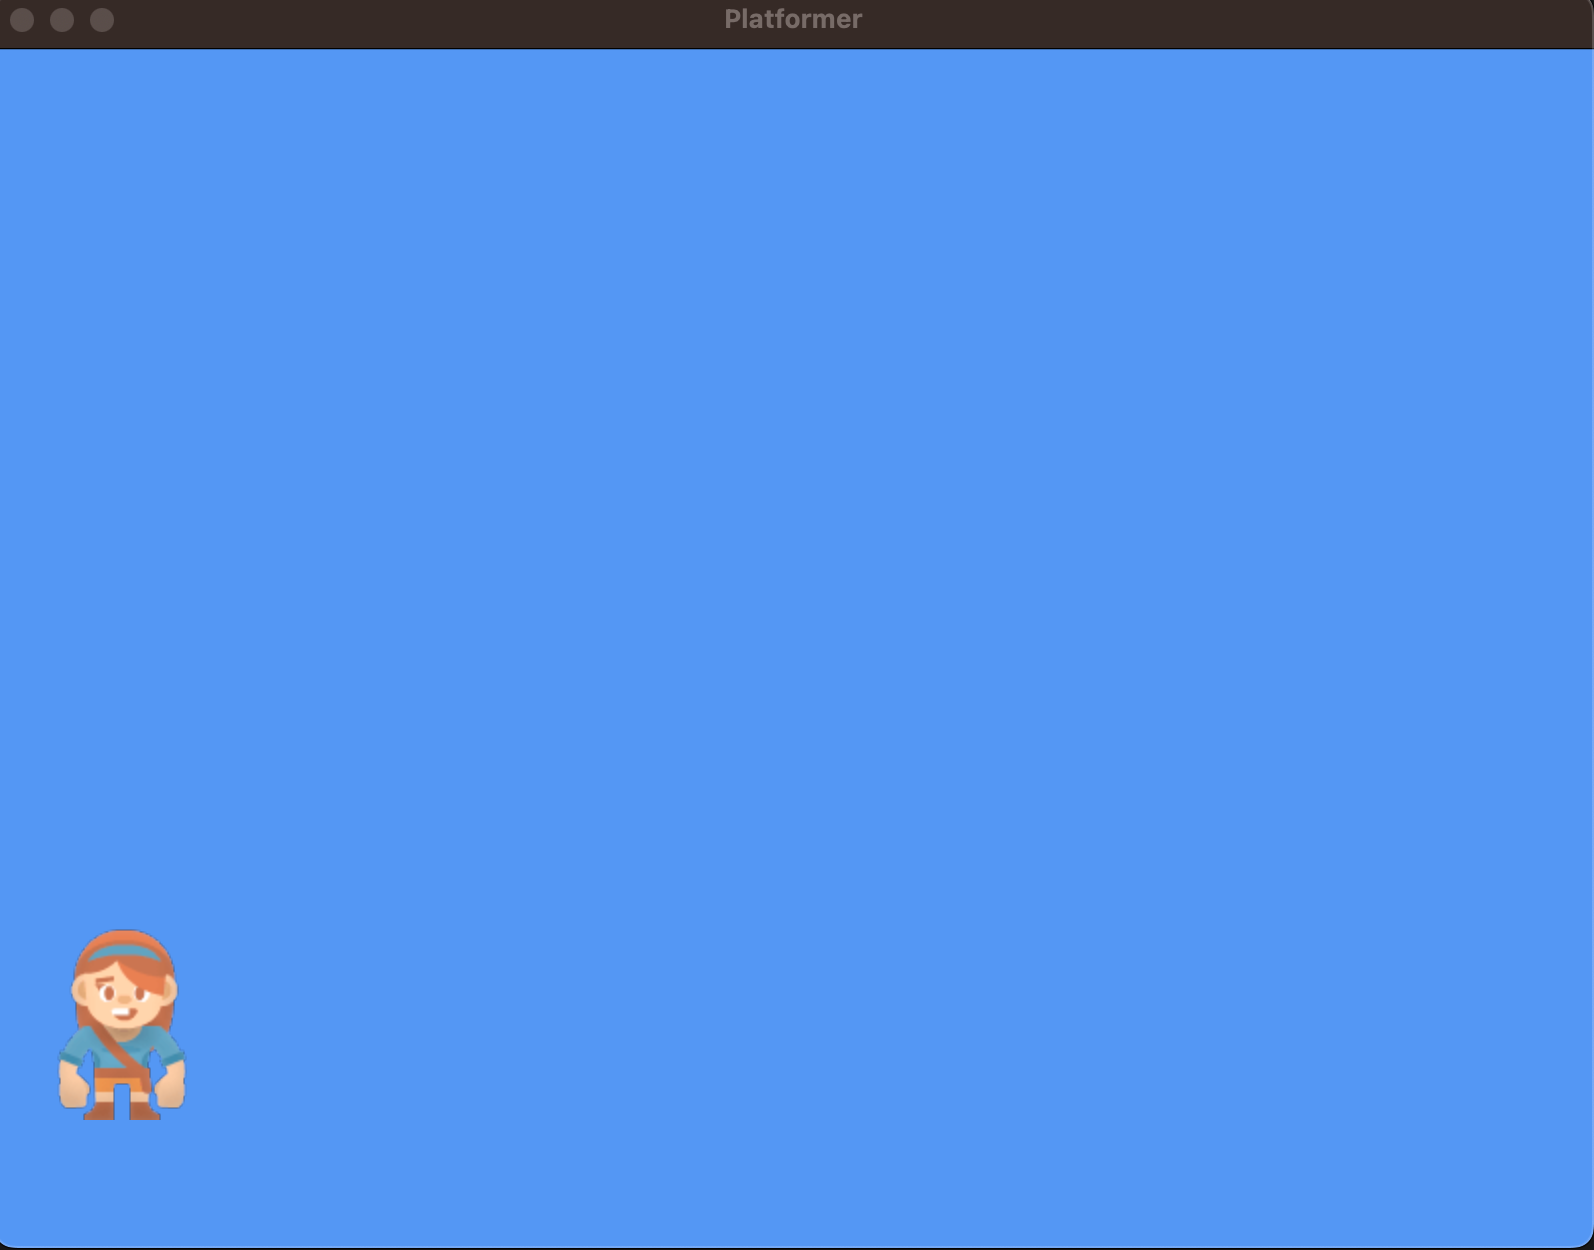
To see what we will accomplish, run this code:
python -m arcade.examples.platform_tutorial.02_draw_sprites
You should see the same window, but now with a character on the screen:
Images in 2D games are created using Textures and Sprites. Let’s discuss those ideas.
Textures
Textures are largely just an object to contain image data. Whenever you load an image
file in Arcade, for example a .png or .jpeg file, it becomes a Texture.
To do this, internally Arcade uses Pyglet to load the image data, and the texture is responsible for keeping track of this image data.
We can create a texture with a simple command, this can be done inside of our __init__
function. Go ahead and create a texture that we will use to draw a player by adding this code
into the __init__ function of the GameView class. Right below the “super()…” statement is fine.
self.player_texture = arcade.load_texture(":resources:images/animated_characters/female_adventurer/femaleAdventurer_idle.png")
- What is the code doing?
the ‘self.’ part the of statement officially attaches the stuff that comes behind it to become part of the class it is attached to. In this case, ANY function inside GameView now has access to a variable self.player_texture. That is how we ‘share’ the class data with the class methods (functions). arcade.load_texture() does all the dirty work of accepting a path to a image file and making it useful for the program.
Note
You might be wondering where this image file is coming from? And what is :resources: about?
The :resources: section of the string above is what Arcade calls a resource handle.
You can register your own resource handles to different asset directories. For example you
might want to have a :characters: and a :objects: handle.
However, you don’t have to use a resource handle here, anywhere that you can load files in Arcade will
accept resource handles, or just strings to filepaths, or Path objects from pathlib
Arcade includes the :resources: handle with a bunch of built-in assets from kenney.
For more information checkout Built-In Resources
Sprites
While the texture data is now ‘saved’ into the class as a variable. We can’t use it as is, we need to convert it
to a Sprite. If Textures are an instance of a particular image from a file, then arcade.Sprite is an
instance of that image that can be put on the screen later on. Say we have a ground or wall texture. We only have
one instance of the texture, but we can create multiple instances of Sprite, because we want to have many walls.
These will use the same texture, but draw it in different positions, or even with different scaling, rotation,
or colors/post-processing effects.
Creating a Sprite is simple, we can make one for our player in our __init__ function. Make sure it is
right after the previous statement. See the challenge section for why this is important!
self.player_sprite = arcade.Sprite(self.player_texture)
self.player_sprite.center_x = 64
self.player_sprite.center_y = 128
Note
You can also skip arcade.load_texture from the previous step and pass the image file to arcade.Sprite in place of the Texture object.
A Texture will automatically be created for you. However, it may desirable in larger projects to manage your textures directly.
Rendering
If you ran your program as is, you will notice…. nothing new! We have simply given the class a texture and defined a sprite. But no instructions on what to do with that data. Remember, classes are objects that HAVE data (our image in sprite-form now) and DO stuff with the data.
Rendering is how we get our cool Sprite onto our window by adding the next command to our on_draw function. Place it under the
“# Code to draw other things will go here” comment.
# Code to draw other things will go here
arcade.draw_sprite(self.player_sprite)
Now run the code! You will have to remember the code to run your program from now on :)
python main.py
Challenge
Play with the center_x and center_y variables - what do they do?
Move the load.texture statement after the arcade.Sprite(self.player_texture) statement and run it. It fails. Why? Well, its because computers do things in order. If you try to use a variable before defining it, you will get an error. Computers don’t try to guess what you want or bother looking around for the item. If it is not there, it instantly gives up.
See if you can find the location of the resources and use a different image file.
use a loop to create several copies of the image to the window - each with different locations. Hint: add the ‘import random’ module (another toolbox for Python) right under the import arcade statement. With the random module you can use random.randint(X, Y) which will give a random number between X and Y (including possibly X and Y).
EXTREME challenge - make your own image file - even a stick figure! And use that instead. paint.net is a good free option. aseprite.org is a low cost option and esotericsoftware.com has Spine for a more expensive option. MANY others exist. Don’t spend too much time on this though :) Just enough to get your creative juices flowing! Maybe just use a picture of your face!
Explore the documentation for the
arcade.TextureclassExplore the documentation for the
arcade.Spriteclass
Once you are finished with any or all challenges - make sure your code matches this so that future tutorial steps still work! Feel free to comment out sections of custom code you want to keep playing with later.
Source Code
 1"""
 2Platformer Game
 3
 4python -m arcade.examples.platform_tutorial.02_draw_sprites
 5"""
 6import arcade
 7
 8# Constants
 9WINDOW_WIDTH = 1280
10WINDOW_HEIGHT = 720
11WINDOW_TITLE = "Platformer"
12
13
14class GameView(arcade.Window):
15    """
16    Main application class.
17    """
18
19    def __init__(self):
20
21        # Call the parent class and set up the window
22        super().__init__(WINDOW_WIDTH, WINDOW_HEIGHT, WINDOW_TITLE)
23
24        # Variable to hold our texture for our player
25        self.player_texture = arcade.load_texture(
26            ":resources:images/animated_characters/female_adventurer/femaleAdventurer_idle.png"
27        )
28
29        # Separate variable that holds the player sprite
30        self.player_sprite = arcade.Sprite(self.player_texture)
31        self.player_sprite.center_x = 64
32        self.player_sprite.center_y = 128
33
34        self.background_color = arcade.csscolor.CORNFLOWER_BLUE
35
36    def setup(self):
37        """Set up the game here. Call this function to restart the game."""
38        pass
39
40    def on_draw(self):
41        """Render the screen."""
42
43        # Clear the screen to the background color
44        self.clear()
45
46        # Draw our sprites
47        arcade.draw_sprite(self.player_sprite)
48
49
50def main():
51    """Main function"""
52    window = GameView()
53    window.setup()
54    arcade.run()
55
56
57if __name__ == "__main__":
58    main()